Sorry, nothing in cart.
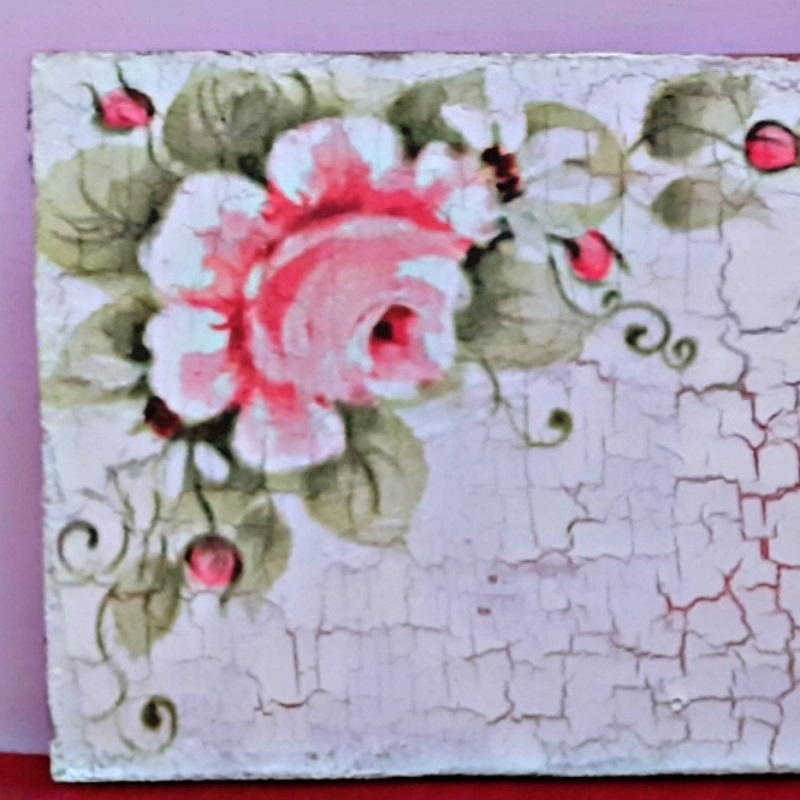
Name Board with Crackle Effect and Welcome Board with Distressed Finish by Vidhu Thareja
- /
Hi Everyone.
I hope all of you are doing great. This is Vidhu Thareja once again back on the blog of Connect4Sale with a new project inspiration. I would like to thank team of Connect4Sale for giving me another opportunity. This time I am sharing ideas of creating décor for the exterior wall of your home. I have step wise picture tutorial for all of you. So without wasting further time, let’s start the projects…..
My first project is a Name Board. I have received plain MDF board, measuring 14 x 4 inches. Connect4Sale has recently introduced mdf boards in different sizes.
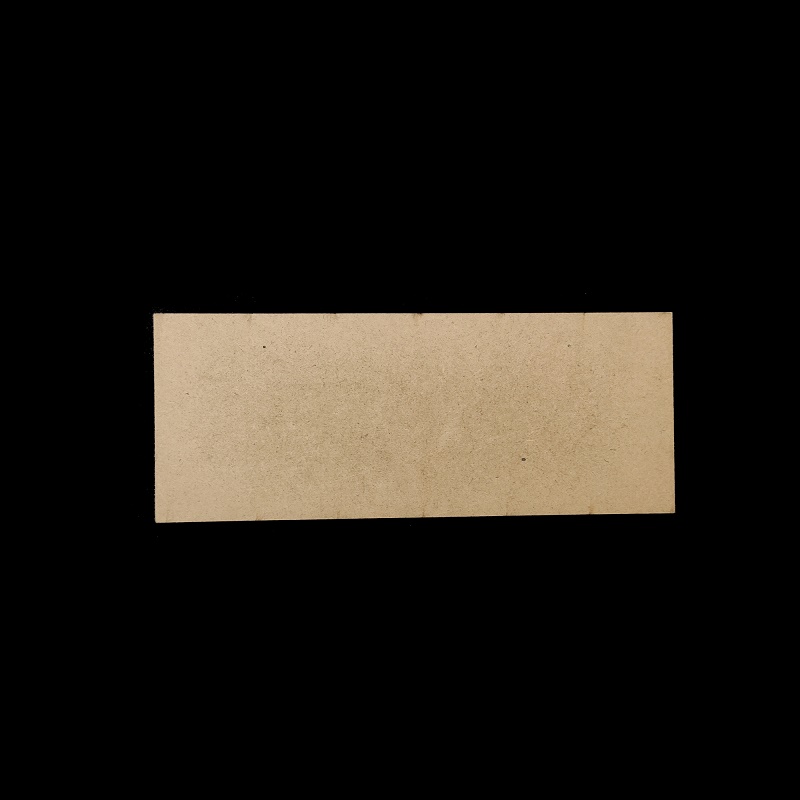
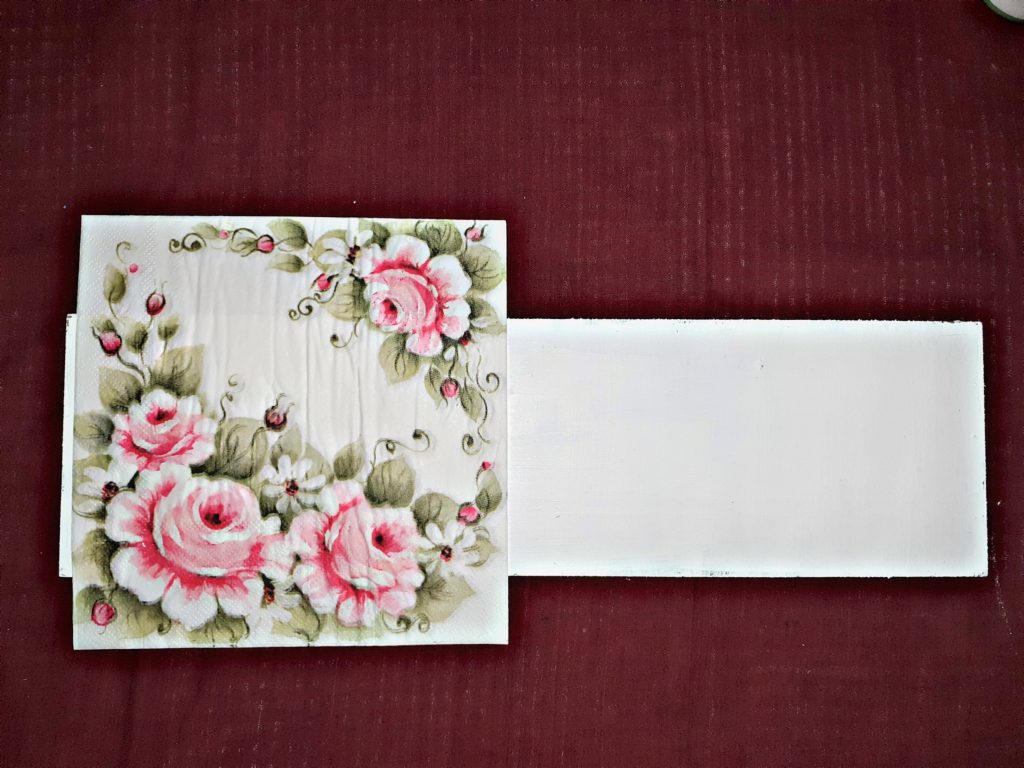
Next step is to choose a tissue for the project. Composition plays a very important role in Decoupage so always select a tissue, which will go very well with the base. First I have primed the base with two coats of gesso. After that I have done color blending with two colors of chalk paint using sponge. You can use single color also. Here I forget to click picture. Always choose colors, which will perfectly match the colors in tissue.
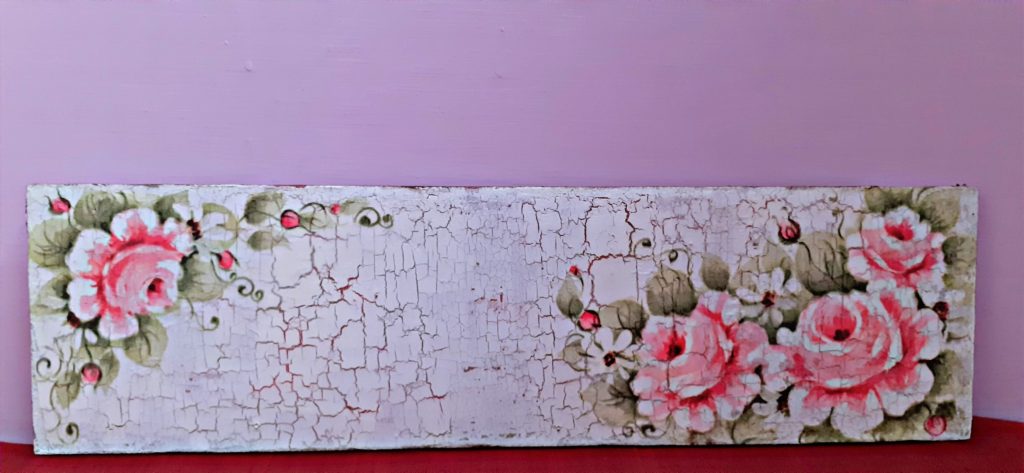
Here I have used pink and green shades of chalk paint. I leave it to dry. I do not want to do decoupage on the whole board so decided to use one step crackle medium. Apply dark color first and on top of that apply one step crackle medium with synthetic Bristol brush. Use dab method while applying crackle medium. Let it dry naturally on its own. Do not speed dry. It dries clear. Then apply any contrasting shade of chalk paint with brush. As soon as the colour starts drying, you will get to see beautiful cracks forming up. Here you can see beautiful cracks and dark shades of chalk paint can be seen through the cracks.
Decoupage has been done on top of the crackle effect. So here we need to use lighter print tissue so that cracks can be seen through the print. Remove the image and edges using wet brush technique and separate the plain layers and printed layers and adhere the tissue using Mod Podge. Do not apply too much of Mod Podge. Excessive Mod Podge could tear the tissue. Let it dry for atleast one hour or so and then seal the decoupaged area with Mod Podge. After one day seal the project with two coats of water based varnish. Two coats of varnish is more than sufficient. Give enough drying time in between the each coat of varnish. Top coat would be of resin. Stick the names with any strong glue and pour resin. Resin will make your name board water resistant. Resin is also available at Connect4Sale. A beautiful Name Board is ready to adorn the exterior wall of your home.
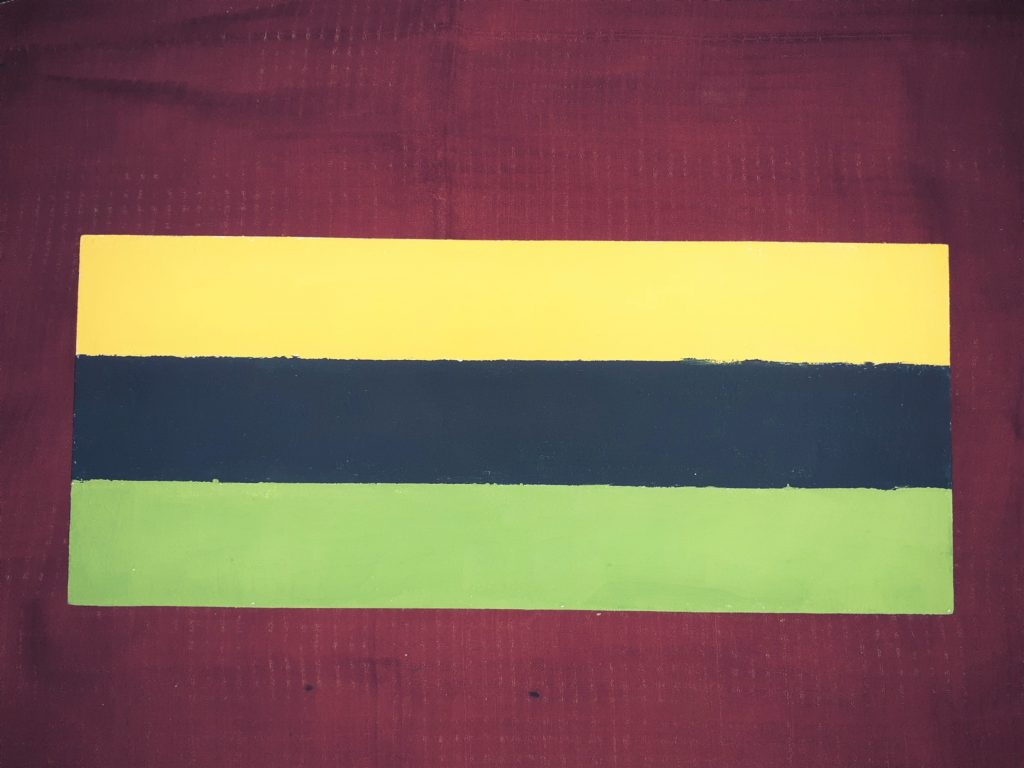
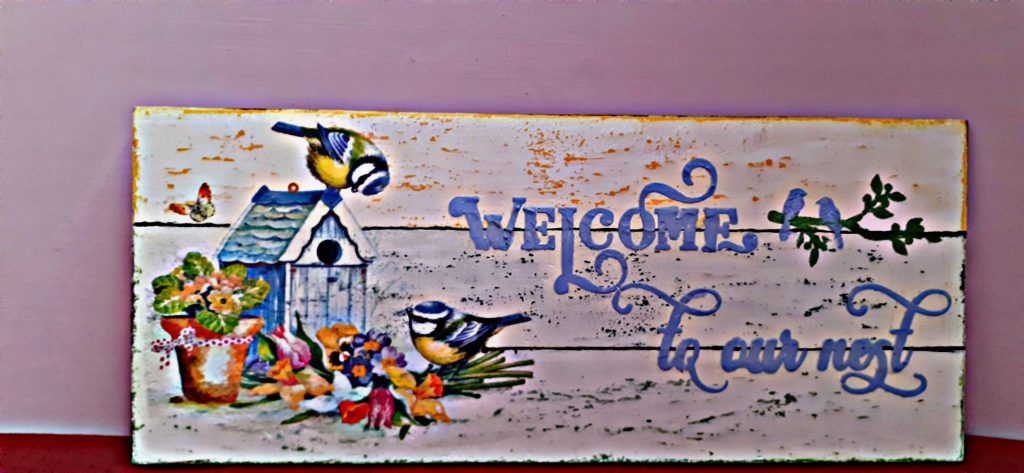
My next project is Welcome Board with Distressing. I have received another board measuring 14 x 6 inches in my Guest DT kit. Prime the base with two coats of white chalk paint and select tissue. Whenever we want to give old weathered or vintage look to any project, we use distressing technique. For that we need to use chalk paint only because acrylic color starts chipping off with sanding. Firstly I have created three palletes in three different colors of chalk paint, dividing the space in three equal portions. Apply two coats of chalk paint and let it dry completely.
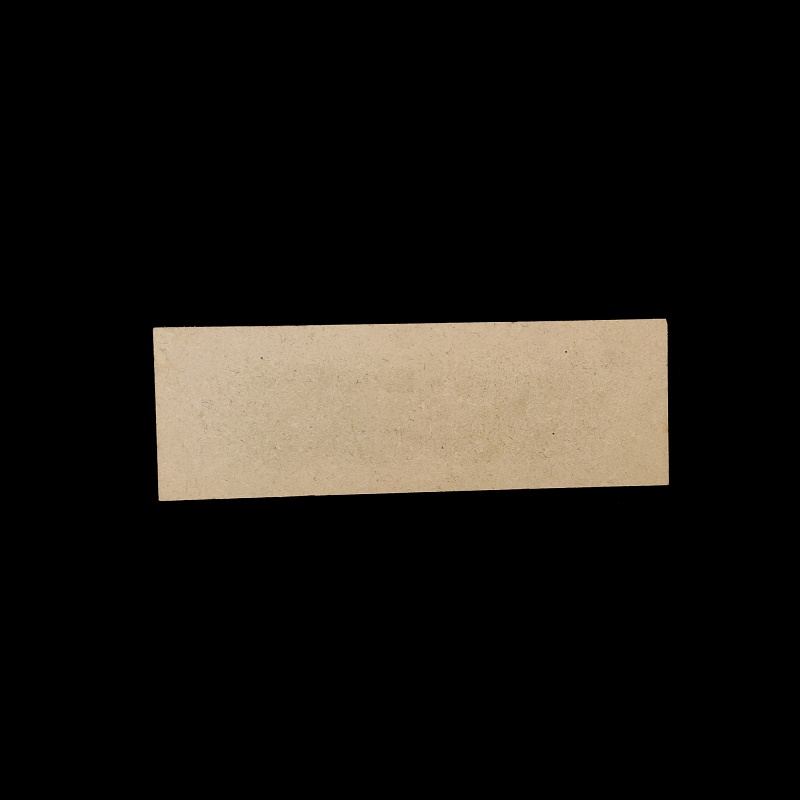
Now rub candle wax on that area where you want to have distressed look. On top of that, I have applied two coats of white chalk paint because I was planning to use tissue on my project. You can use three different colors, if you are using paper or want to do some stenciling. Using a sand paper of 100 number rub down the paint where candle wax was rubbed earlier so that paint rips off giving it a beautiful distressed look.
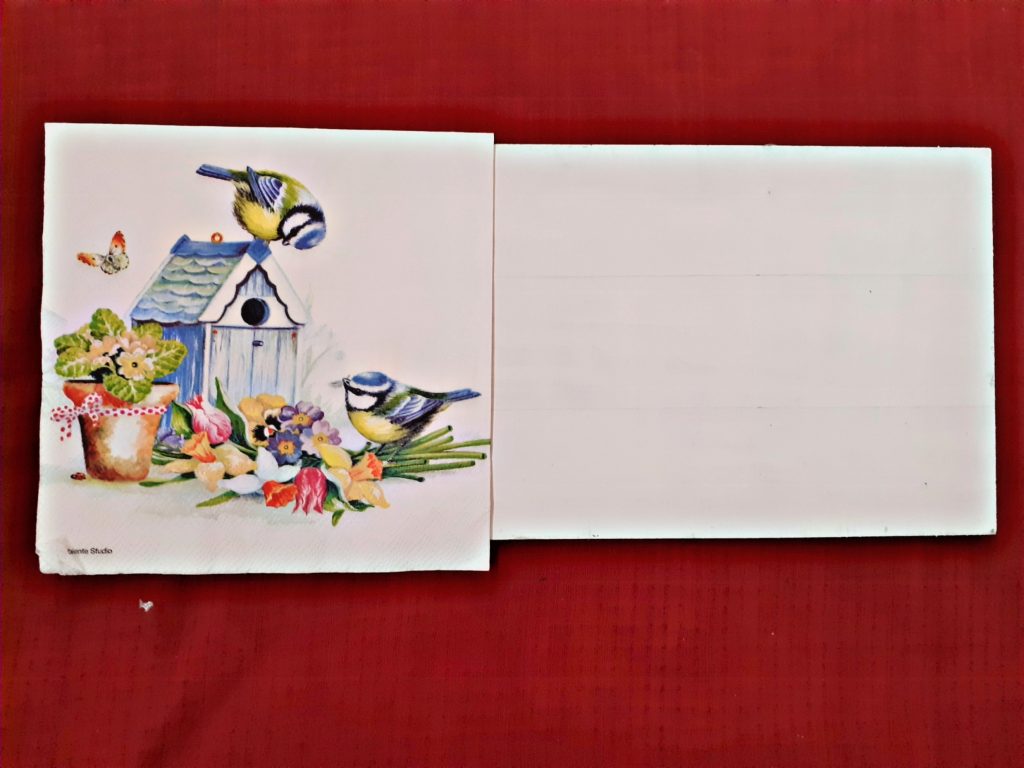
Now you can see the distressed look and shades of colors which has merged so well giving it a vintage and weathered look. Dilute black chalk paint and using a zero number round brush, draw pallete lines and adhere the napkin using Mod Podge. Wide range of chalk paint and Mod Podge is available at Coneect4Sale.
As I have always said, use wet brush technique to remove image and edges from the tissue. Let it dry and then again seal the image with modpodge. Now its time to do some stenciling. Since it is going to be used as welcome board so I thought of using the stencil related to that which I have received in my Guest DT kit. Connect4Sale has a beautiful collection of stencils. I wanted to give a little dimension to stenciling part so instead of doing stenciling with color, I have mixed chalk paint in modelling paste and applied it through stencil with pallete knife.
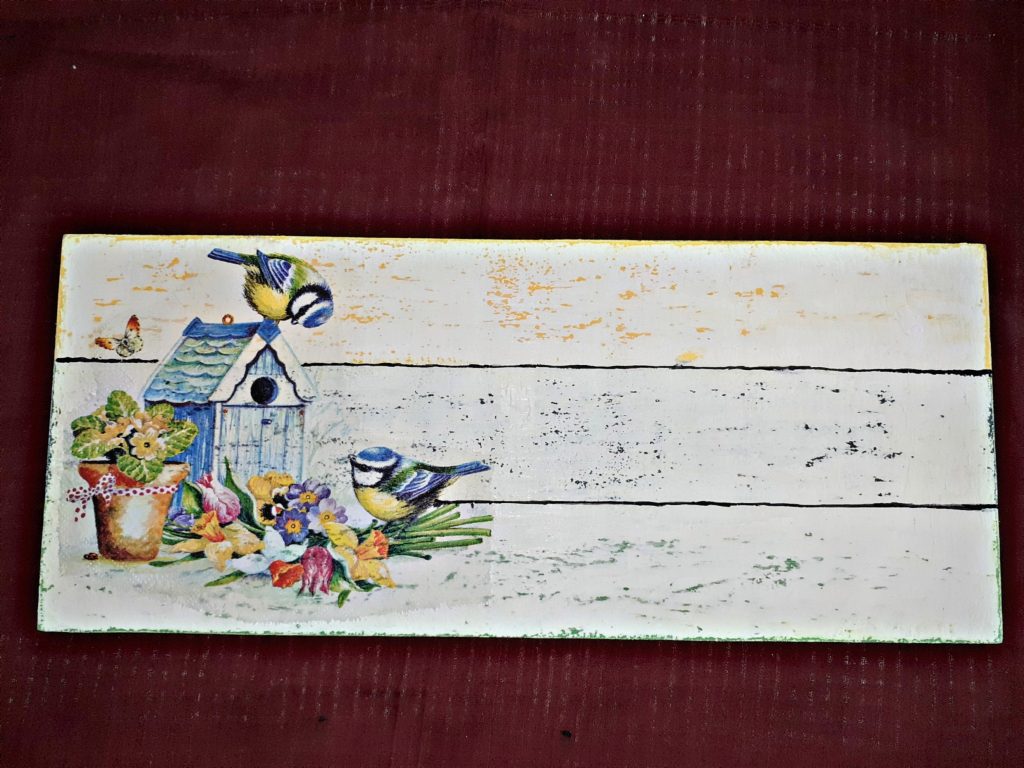

Let it dry comletely and seal the project with clear varnish. Two coats of varnish is more than enough. If you wish, you can pour resin to make it water resistant. A beautiful Welcome Board is ready to adorn the wall of your home. I hope you will find these tutorial inspirational.
All the craft supplies, used in these projects are available at Connect4Sale. Do check the website. Grab your supplies and create somethig beautiful for your home or gifting to your loved ones. Do not forget to share your awesome creations with all of us.
Happy Crafting
Vidhu Thareja
About The Artist
Vidhu Thareja is a crafter from Noida, born and brought up in Delh. She had completed her studies from Delhi. She began her career as a freelance translator and worked with many reputed publications. She has also worked in the Insurance Sector for many years.
Due to personal reasons she had to give up her job, which actually turned out to be a blessing in disguise. The turning poing came when she got the golden opportunity to work with Madura Coats Pvt. Ltd. as a Craft Consultant for their Anchor Thread Craft activities in reputed schools of Delhi/ NCR Region. Although it was not a very high paying job it gave her all the confidence and a feeling of fulfillment, which made her realize the crafter hidden in her.
Since her childhood she was very much interested in crafts. Growing up, there was not that much exposure to tv or computer and she used to do embroidery in her free time or during vacations. Her biggest inspiration was her mother who is her motivating force. At the time of conducting Anchor thread craft workshops, she started doing DIY activities and decided to learn more.
From then there was no looking back and today she is doing what she loves to do. Although every new technique and art form attracts her but Decoupage and Sospeso are the two crafts, that she enjoys the most. She never lost a chance to learn anything new because she believes that learning never stops.
She follows her fellow crafters because she feels every person teaches you something. To all upcoming crafters she has this to say “That whatever you do, do it with love and passion, follow others but make your own style statement. Be confident but never be over-confident. Share your knowledge, that is what makes you grow”.
You can follow Vidhu Thareja on her Facebook and Instagram on the below mentioned links…
Vidhu’s Crafts – Making Crafts From Heart
https://www.instagram.com/vidhus_craft_noida
https://www.facebook.com/Vidhus-Crafts-Making-Crafts-From-Heart-553637291368517/
-
BEST PRICE -VALUE FOR MONEY
-
SHIPPING ALL OVER INDIA
-
BULK PRICING ON PRODUCTS
-
NEED HELP +91 9940134721


Leave a Reply
You must be logged in to post a comment.